Our Solutions
Leverage established solutions customized for your sector, embraced by many in your field. Complete your Odoo deployment with resources that offer a complete experience for you and your customers.

Logistics Services

Sales Channels

Payment Acquirers

Localized Tax and Payroll

Industry Solutions
Why Use Syncoria Solutions
- Reduce Development time
- Reduce Maintenance cost
- Faster Deployment
- Proven Reliability
- Seamless connectivity
- Constant Monitoring
- Secure
- Compliance
Connectors from Syncoria

Moneris

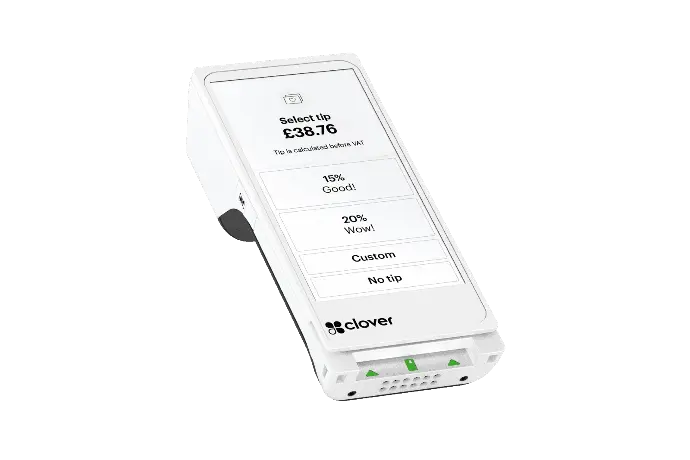
Clover
Bambora/Worldline

Resolve Pay
Rotessa

Global Payment

Affirm (PayBright)
Clik2pay

Shopify

Woo Commerce

Magento

B2B Central

Canada Post
SPS Commerce

GoShippo

True Commerce
My Carrier

Purolator

EDI
Fully Integrated Payment Terminals

Connect with PAX A920 Devices - Latest release!!!
Connect your Odoo POS and Invoicing with PAX A920 terminals.
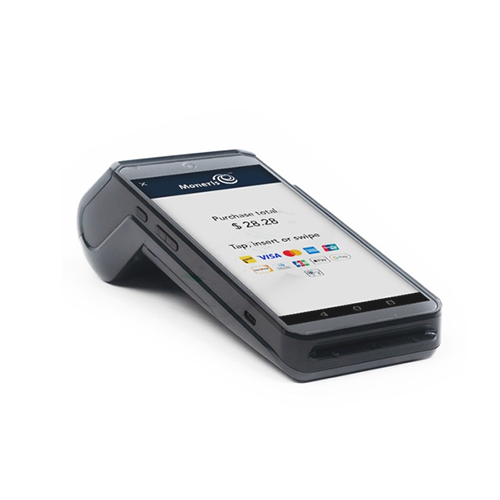
Integrate Odoo with Moneris P400 and Go!
Error-Free transactions
Avoid errors by avoiding keying in amounts onto the terminals. Process payments and refunds with ease!
Easy Reconciliation
Reconcile credit card transactions within Odoo within minutes as all transactions are recorded with the Moneris transition ID, invoice number, and customer data.
Connect your Clover Terminals to Odoo within minutes
Connect your point of sale (POS) system or your B2B invoicing platform to Clover with the only Clover-Odoo Integration in the market.
Exclusive Solutions

Canadian Payroll in Odoo
Receive payroll reminders, confirm runs, and access detailed reports by company or employee. Generate T4 slips, ROEs, and direct deposit reports seamlessly

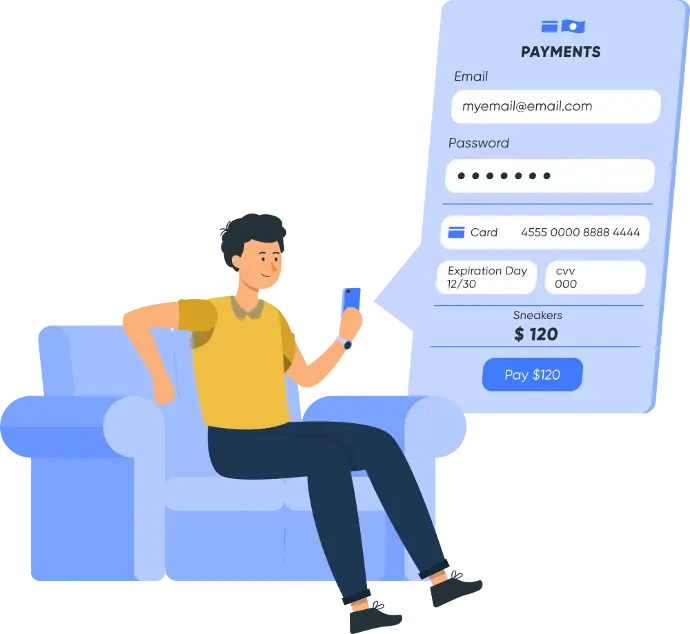
Payment Integration
Connect your Odoo point of sale (POS) or your B2B invoicing system to Clover, Moneris, Bambora, Affirm, Clik2pay and other prominent payment acquirers

ISP and MSP Billing System
Work simpler and grow smarter with Syncoria ISP Pro. Easily manage billing, provisioning , ticketing, reselling and more – all from one, convenient platform
The Odoo Gold partner that gives you the greatest value
Contact us for the most comprehensive solutions